
Step 1
Start by preparing your floss (thread). The floss is comprised of six strands that are twisted together. To prevent a bulky appearance, split the floss by gently un-twisting the length, and pulling out 3 of the 6 strands. Thread your needle, and add a knot at the end of the floss.
Step 2
Find the center of your fabric by folding the fabric in half lengthwise, then in half again widthwise. This corresponds to the ★ symbol on the center of the pattern. Each gridline on the pattern corresponds to the grid on the cross-stitch fabric. From the center point, count squares to a comfortable starting point. Insert your threaded needle here, as this will create your first stitch.

Step 3
Create stitches across the grid, going in one direction, from bottom left to top right. Once you complete a row, go back over the first row in the opposite direction.
Continue to count grid squares and complete the pattern. Once you are done with a strand of thread, tie it off by passing the needle under existing stitching to create a loop, and putting the needle through the loop. This will create a tight knot on the back of the fabric. Trim any loose ends.
Step 4
Click here for a video tutorial.
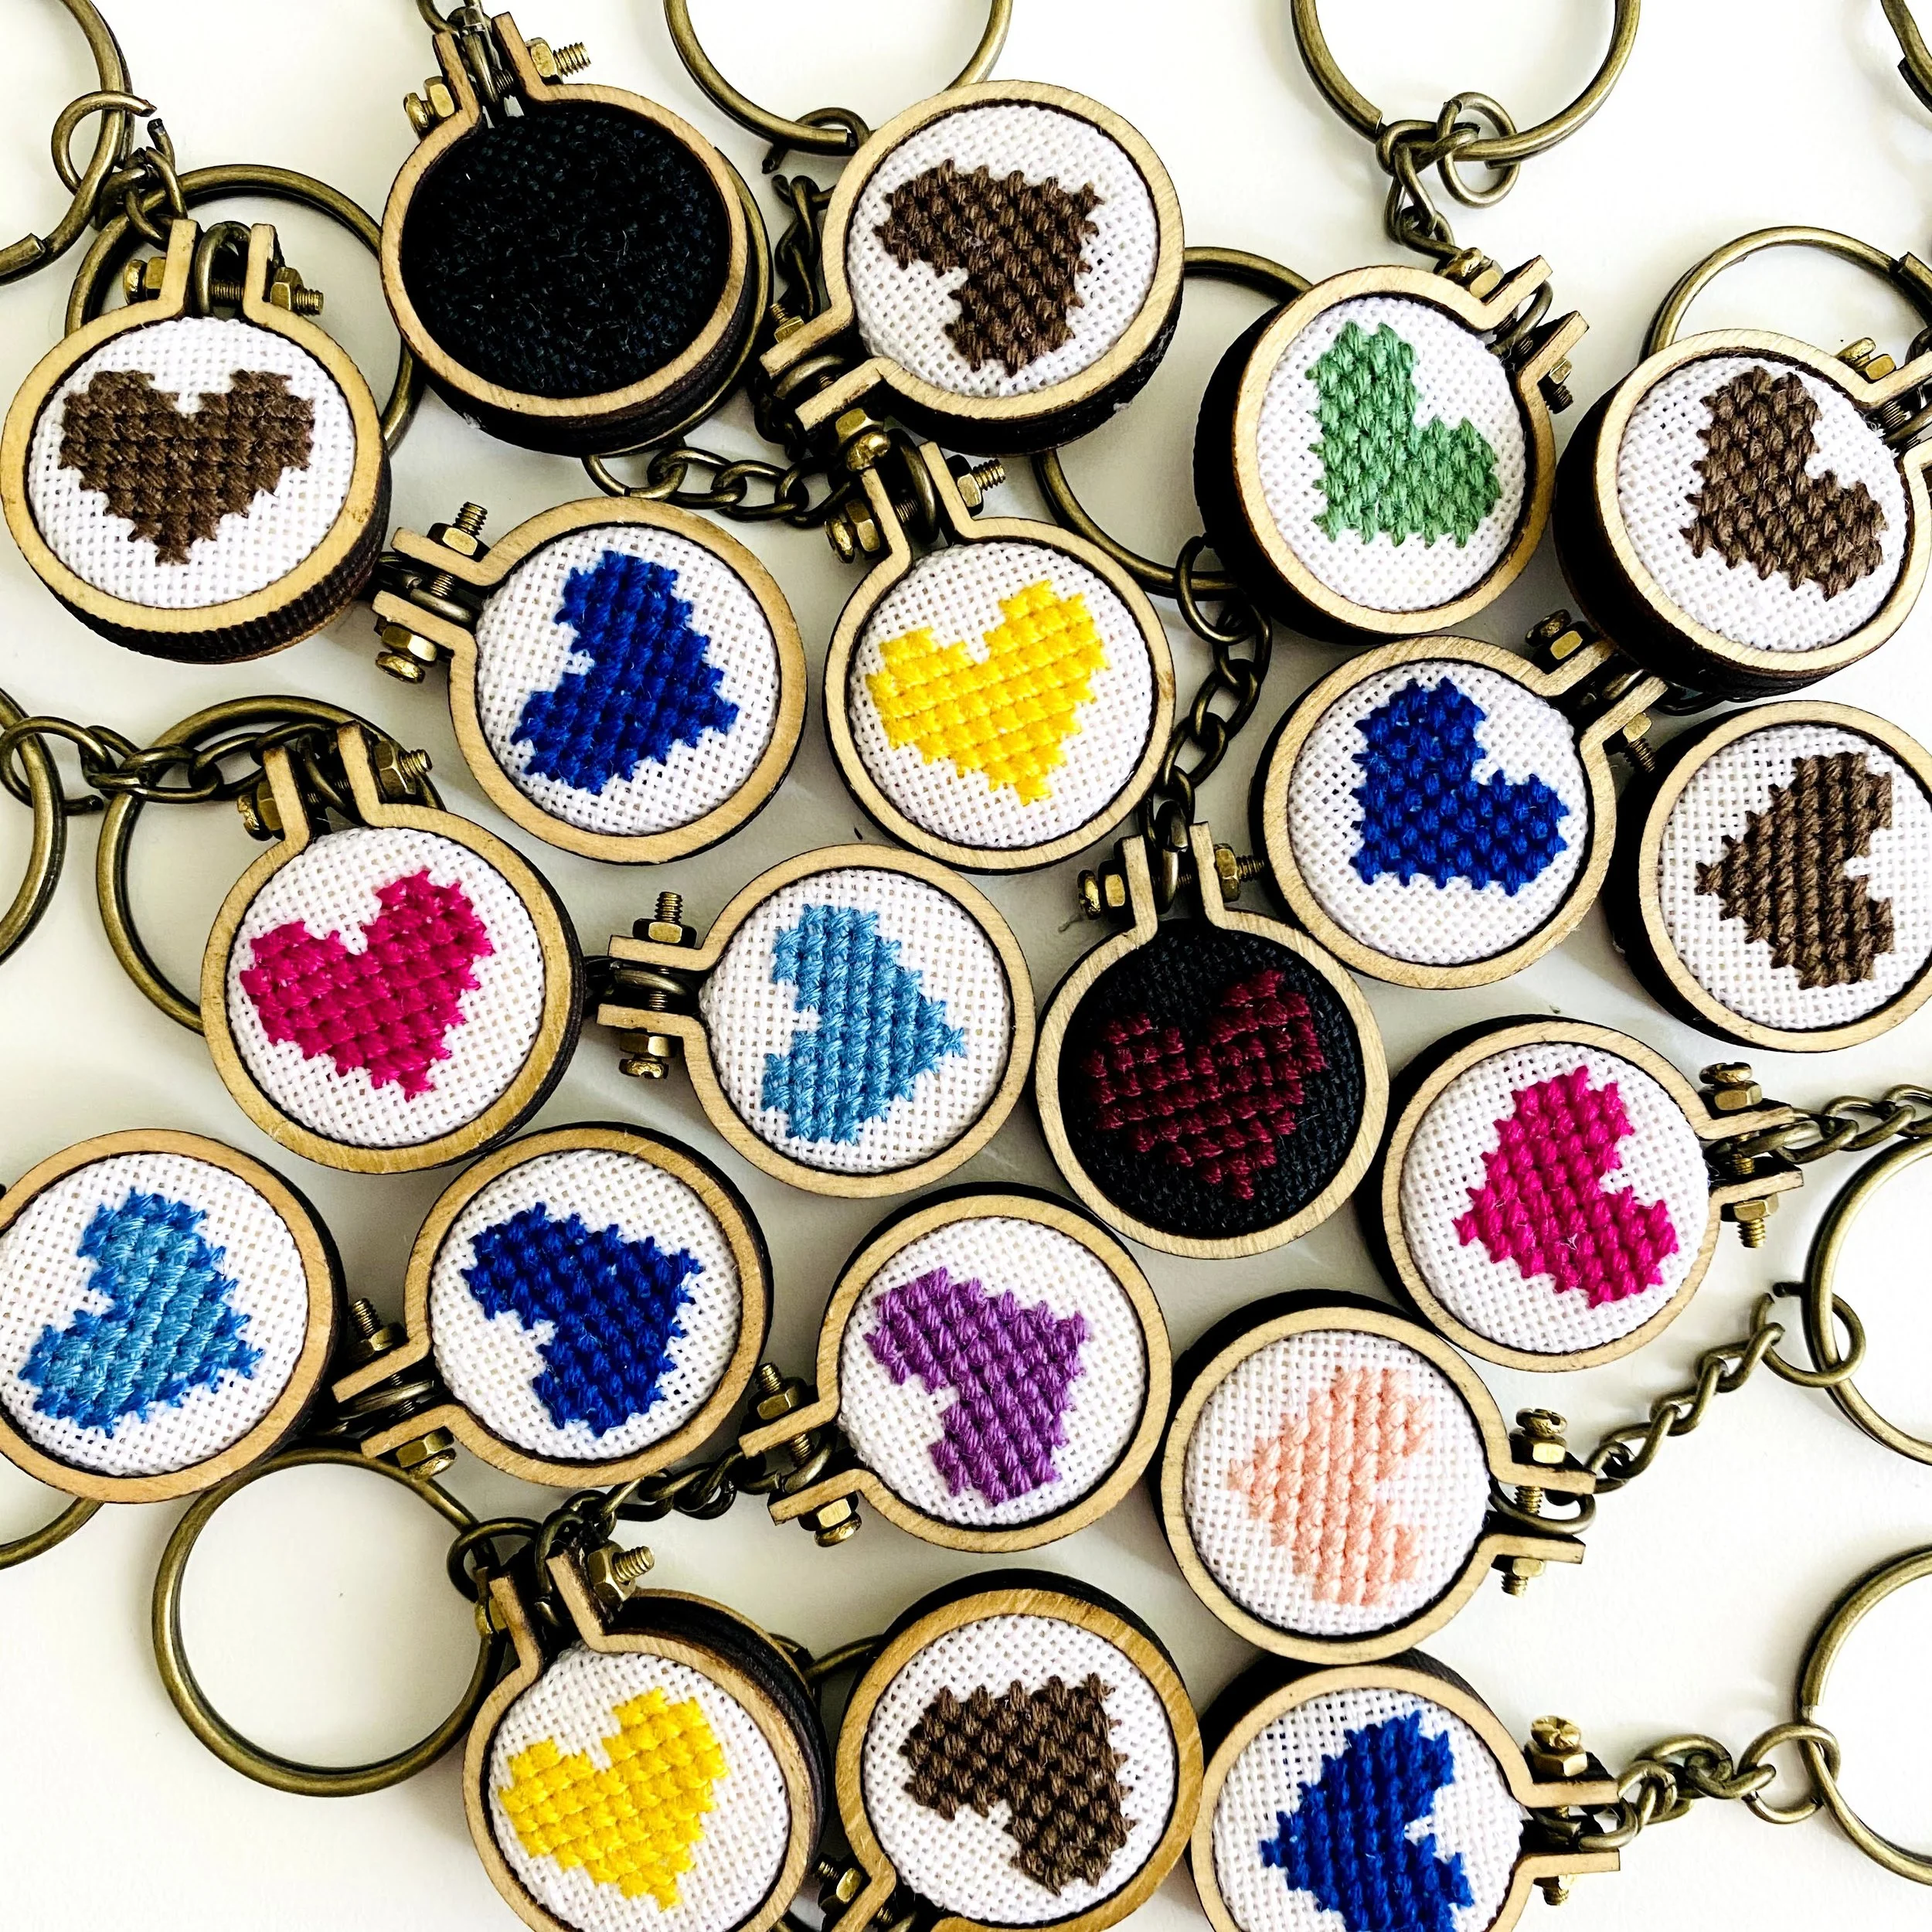
Assemble the wooden hoop by hot-gluing the fabric to the smaller of the two wooden disks. Carefully stretch the hoop around the disk, and put the provided screw through the holes at the top, surrounding both ends with the nuts.
Hot glue the larger disk to the back of the hoop, so the edges align. Attach keyring or glue a pin to the back and you’re good to go!


Mini Hoop Tutorial
Supplies:
Embroidery pattern (digital or printed)
1 wooden mini hoop
2” x 2” Aida fabric
1 hand embroidery needle
6-strand embroidery floss
Scissors
Hardware (pin or keyring)